Friday, June 17, 2011

Silicone Ring Molds on Etsy

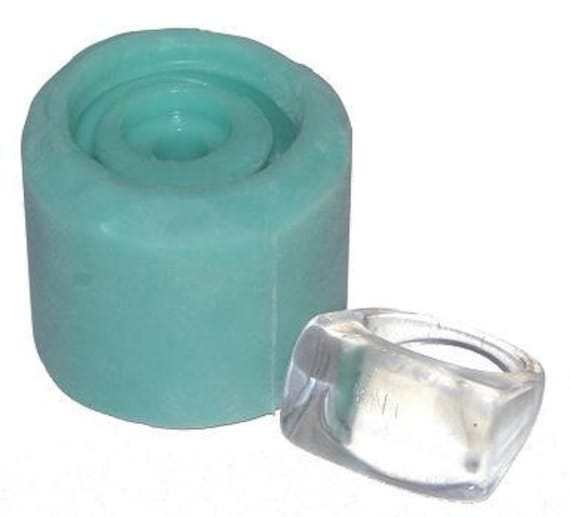
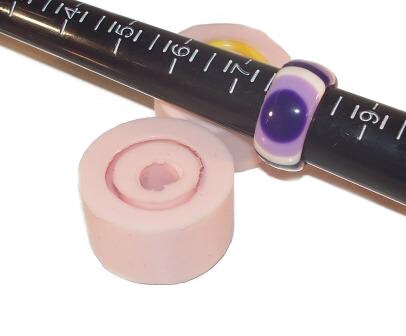
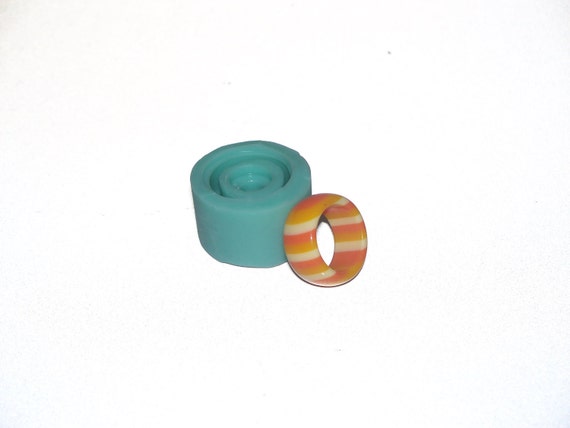
Cindy has been perfecting her silicone mold making process and has been unable to produce new molds. However, we found a few extra silicone ring molds in the studio and listed them on Etsy for you! Get them while you can--they sell out FAST!

Cindy makes some of the only ring molds you can find. Made of high quality silicone, the molds produce a glossy, shiny casting. Silicone molds are known for their ability to produce a shiny casting, but they are also favored because they do not require mold release! Also, for some reason, we find that our castings seem to cure a little faster in a silicone mold rather than in a polypropylene mold.

There are a few silicone molds on eBay and the website, but you'll only find the rings molds on Etsy!
 

Click on the pictures above to view their Etsy listing. 

Tuesday, June 14, 2011

Crystal Clay Butterfly Hair Barette Tutorial in 3 Simple Steps!

We're still obsessed with Crystal Clay and created this fun little tutorial for you to get aquainted with the medium.


Supplies Needed:
-Resin Butterfly Casting (We used Mold 554)
-Black Crystal Clay Kit
-Swarovski Crystals or Rhinestones
-Hair Barette Blank


Always follow the safety guidelines on the Crystal Clay Kit Box.


1. After mixing your crystal clay together, following the instructions in the kit, begin covering your already casted butterfly. You can use a bit of water to smooth out the clay if needed.


2. Begin Crystallizing your butterfly. Get creative with it!

3. Put a small ball of crystal clay on the blank part of the bobby pin. Push it into the Butterfly and allow to cure. And Voila! You have a custom, hand made, butterfly hair barette that you created in 3 very simple steps! Wear it all summer and be the talk of the town.


Thursday, June 2, 2011


DIY Crystal Clay Ring

Supplies:

Crystal Clay Kit
Swarovski Crystals
Pewter Rectangle Bexel Ring Finding

 Safety Precaution: Always wear gloves when mixing Crystal Clay. Gloves are included in the kit.
 
1.       Pinch a small ball of Parts A and B of equal size and roll into a ball.

2.       Mix Part A and B until it is entirely consistent and looks like Part A without any Part B in it.

3.       Fit about ¾ of the clay into the large rectangular bezel on the ring.

4.       Begin adding your Swarovski crystals to the clay. Use the provided toothpick with beeswax end to pick up the crystals and place them as desired. You do not need to press them in hard, as long as they are on the clay, they will dry attached to the crystal clay. You can get really creative with your crystals. Think: initials, flowers, animal print, favorite shape, any pattern or design. You can also lightly trace out a pattern with a toothpick on the clay before you add your crystals. 


5.       Add half of the remaining clay into one of the side bezels.
6.       Begin adding crystals to this bezel.
7.       Add the remaining clay into the last remaining side bezel and repeat Step 6.
You’re finished! You have a gorgeous, one-of-a-kind homemade, DIY ring that looks much more expensive than the supplies cost! Wow all your friends with your talents or have a Crystal Clay Party!